
An invoice is a document you send to a customer listing goods sold or services rendered, as well as the amount due for payment.
There are several ways to create an invoice in QuickBooks Online. The easiest one is from the Quick Create menu (“+ New” button). You can also create an invoice by clicking “New Transaction” while in the Customer Center or from an existing Estimate.
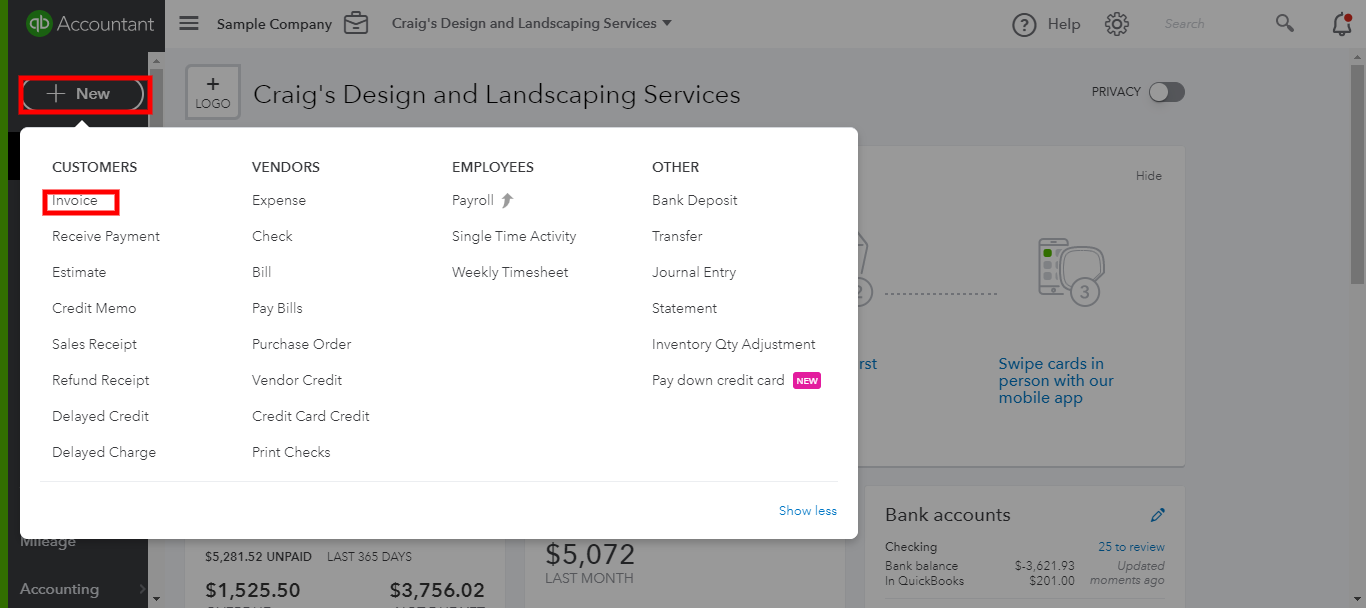
Let’s look at the process of creating an invoice from the Quick Create menu:
1. Click “+ New” button on the left, then under Customers, click “Invoice”.
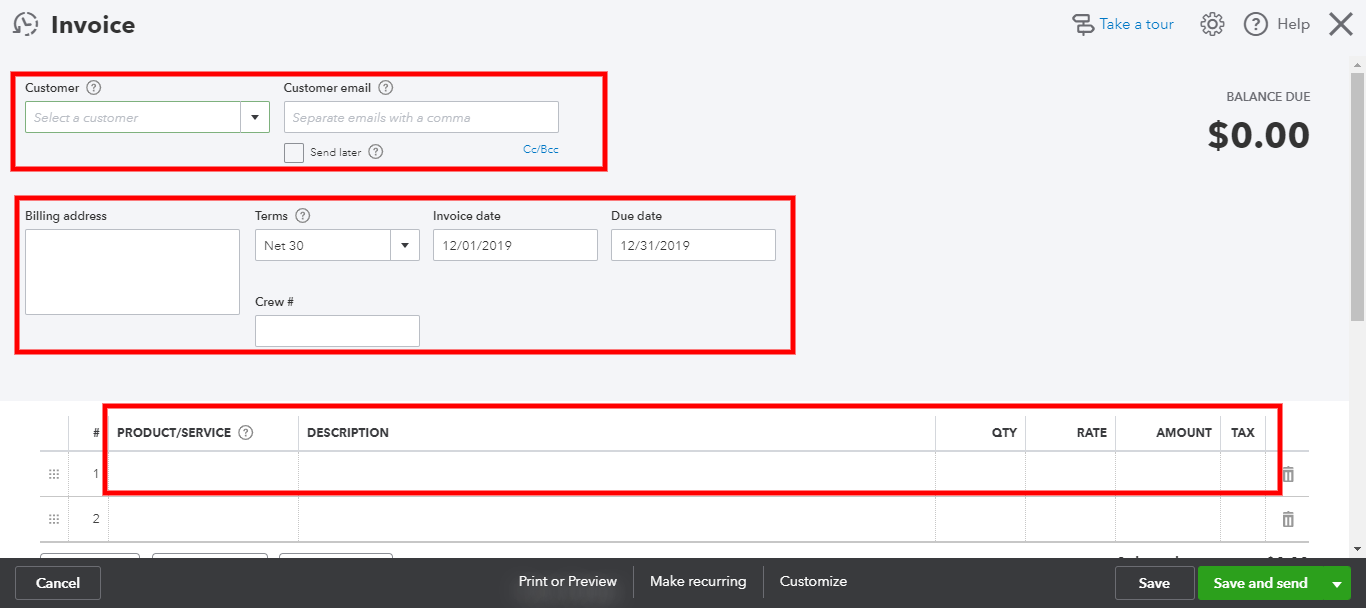
2. Fill out the necessary fields. If you have already set up your customers, choose a customer from the drop down, and the rest of the information will populate. Then select a product or a service you are invoicing for, type in quantity and rate. The total and the tax (if applicable) will be calculated.
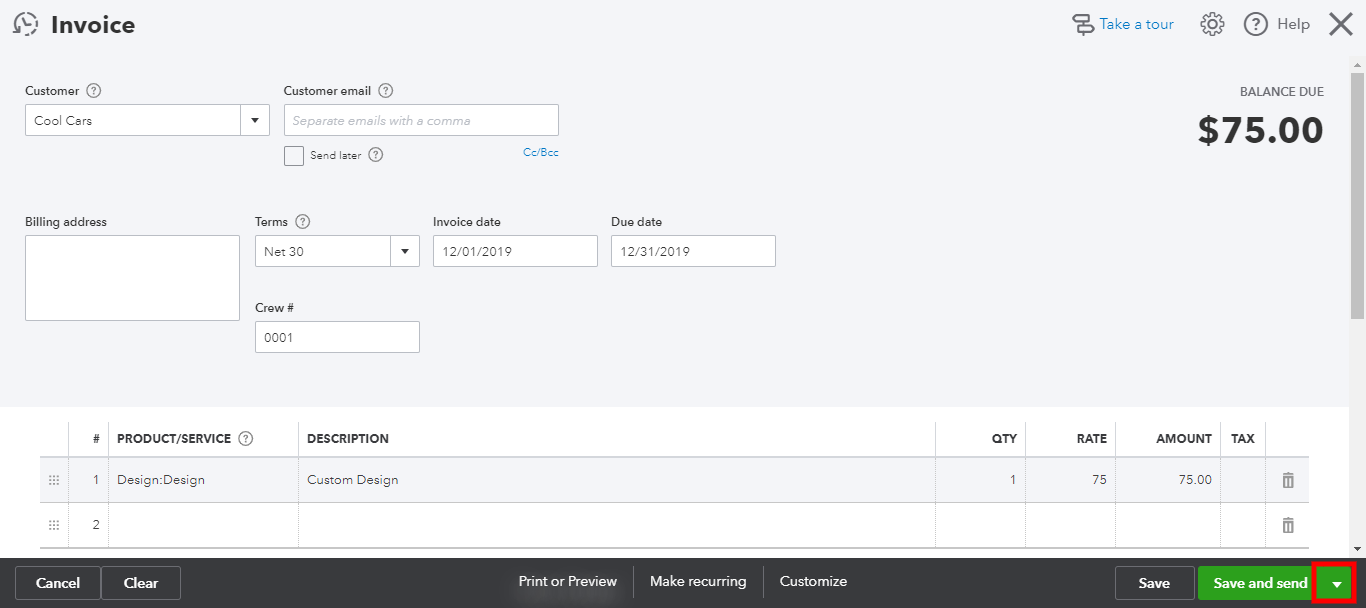
3. There are some additional tools at the bottom: you can cancel the invoice, you can clear the form and start over, print or preview the invoice, or make it recurring. Before printing the invoice or making any additional changes, I recommend saving your work. Click “Save” and continue editing or, if finished, use one of the following options.
4. The drop down next to the green button at the bottom right corner displays several options for saving the invoice. You can choose between “Save and Send”, “Save and New”, “Save and Share Link”, and “Save and Close”. QuickBooks Online will remember your preference, and next time you create an invoice, the green button will display your latest choice.
Your invoice is now created and can be found in the Customer Center under Open Invoices.