
1) Log into your PayPal account and download a statement in CSV format.
2) Open the CSV file and delete any rows that don’t contain transactions with “Completed”, “Cleared”, “Refunded”, “Partially Refunded” or “Reversed” status in the Status column.
3) Delete the“Gross” column.
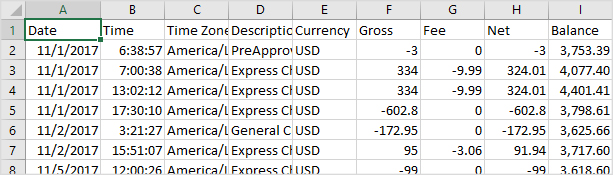
4) Insert a column to the left of the “Name” column. Name it “PayPal fee” and enter “PayPal fee” into every cell of this column.

5) Save the CSV file.
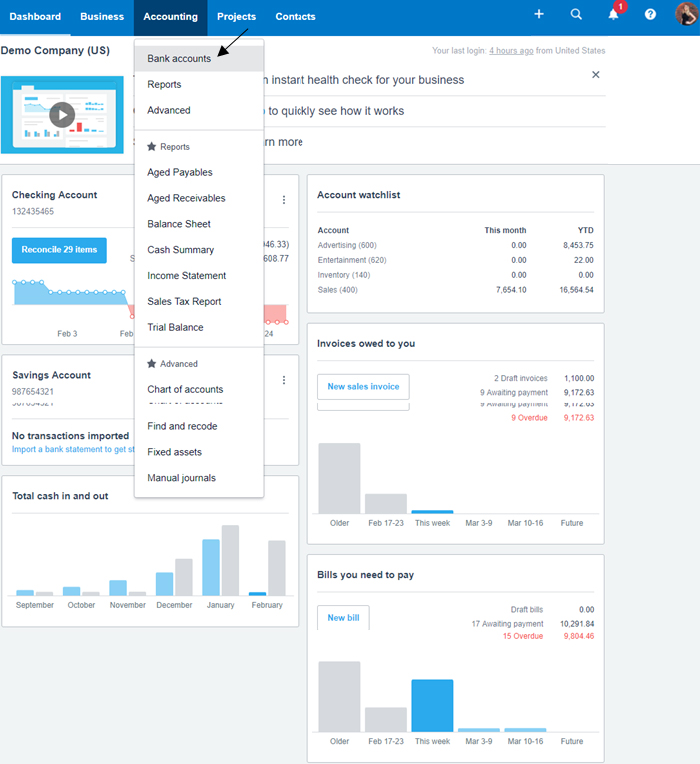
6) In your Xero company, go to “Accounting” taband select“Bank Accounts”.
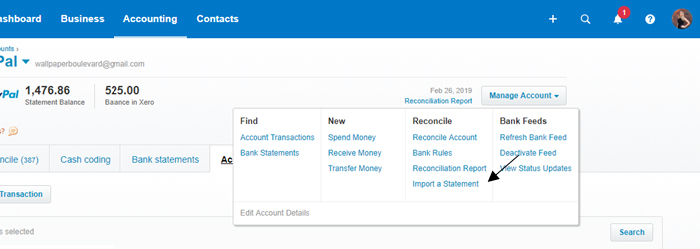
7) Select your PayPal account on the dashboard, click “Manage Account” on the right, and select“Import a Statement”.
8) Click “Browse” and locate your CSV file. Click “Import”.
![]()
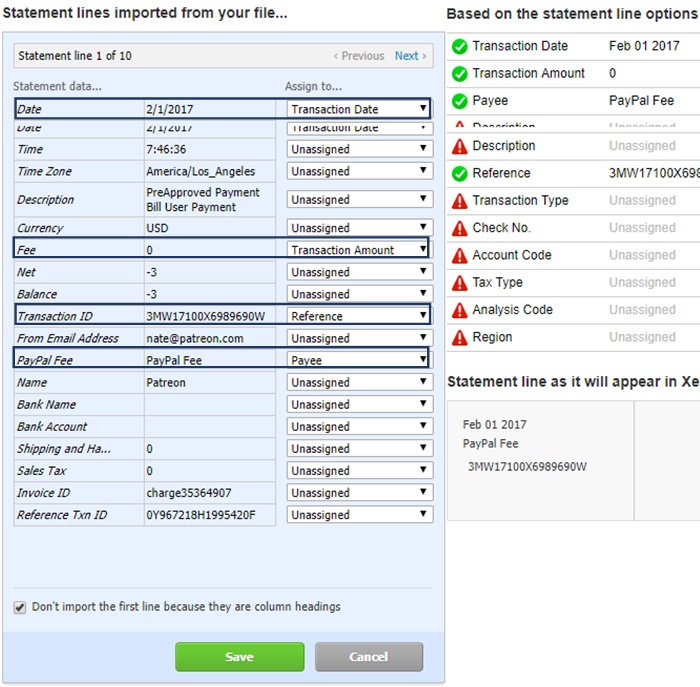
9) Now you will need to assign (map) your statement data as shown below:
- “Date” to “Transaction Date”
- “PayPal Fee” to “Payee”
- “Fee” to “Transaction Amount”
- “Transaction ID” to “Reference”.
Leave other lines Unassigned.
10) Click “Save”, then click “OK”.
Your PayPal fees are now imported to Xero. If you are having trouble with Xero recognizing your CSV file format, try to re-save the file and import again.
If you have missed Part 1 of this blog, click here for our step-by-step guide on importing gross PayPal sales in Xero.